EASY Printer Setup:
|
Printer Setup
|
Previous Top Next |
| 1. | Make sure the printer you wish to set up is ready to print (turned on, on-line, paper loaded, defined in the OS X Print Setup, etc.)
|
| 2. | Launch the ClickBook application (this can be done from your Hard Drive, or by printing to ClickBook from an application).
|
| 3. | Select the Setup button on the ClickBook toolbar.
|
| 4. | Read the text displayed on the tab.
|
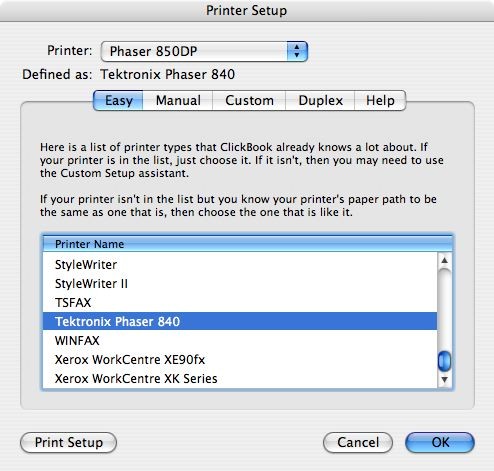
| 5. | Choose the printer you want to setup from the Printer drop-down list. (If you have more than one printer they will be displayed in the Printer drop-down list.)
|
| 6. | Select the Easy Printer Setup button.
|
| 7. | Highlight the name of your printer and select the OK button.
|
| 8. | If you have a duplexing printer, click on the Print Setup button, choose Layout from the drop down menu and choose the radio button for Two Sided Printing.
|
| 9. | Please repeat steps 3 through 8 to setup a second, third, or fourth printer.
|
|
|